

Transplanting a cactus is essential for ensuring its growth and health, especially when it outgrows its pot or needs a new spot in your garden. While cacti are hardy and drought-resistant, the process of transplanting requires careful preparation and attention. In this comprehensive guide, we will detail the steps you need to take to successfully transplant a cactus. From preparing the new potting area to caring for your cactus after the move, we’ll provide all the tips you need to ensure your cactus thrives in its new home. Whether you’re a novice or an experienced gardener, this guide will help you navigate the transplanting process with confidence.

Transplanting a cactus is often necessary for several reasons, including when it outgrows its current pot or requires a location with better lighting. Choosing the right time of year for transplanting a cactus is crucial, along with selecting the appropriate pot and soil. In this guide, we will outline all the essential steps for successfully transplanting your cactus, ensuring it thrives in its new environment. With the right techniques, you can provide your cactus with the optimal conditions for growth and health. (I’ll also be posting some of my favorite cacti that you can buy on Etsy. I receive a small commission for any purchases made through these links with no additional cost to yourself.)
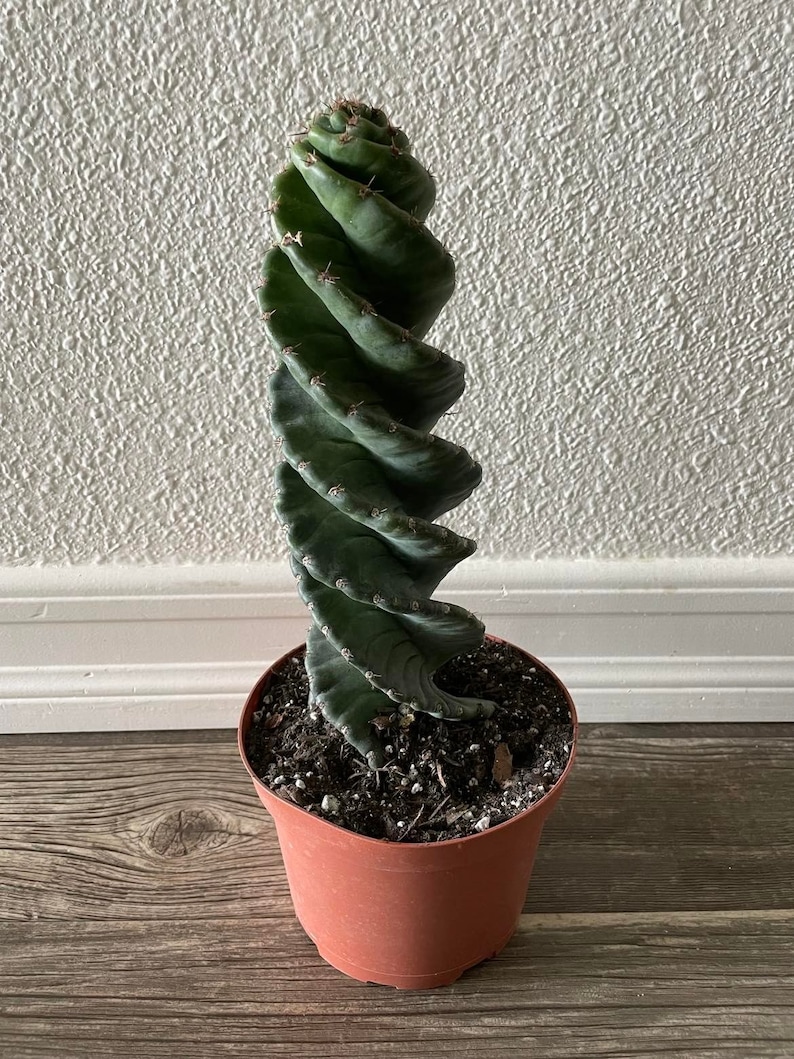
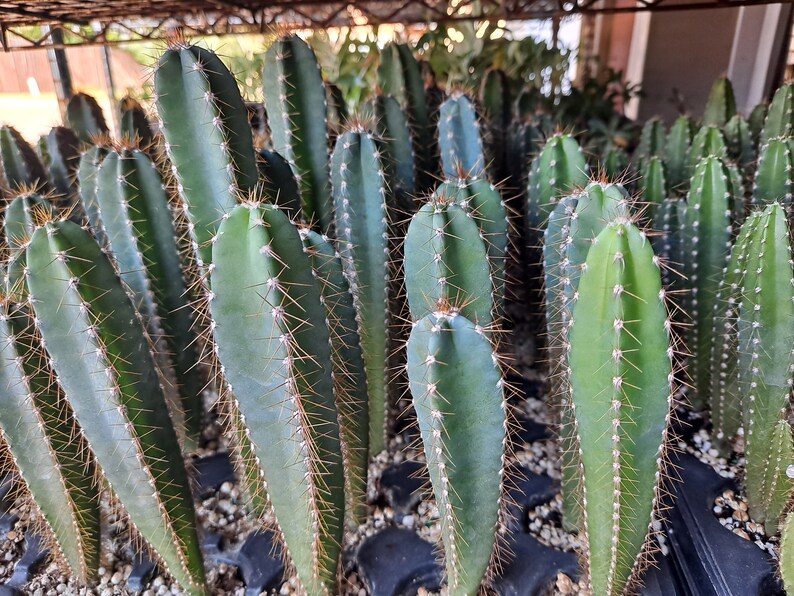
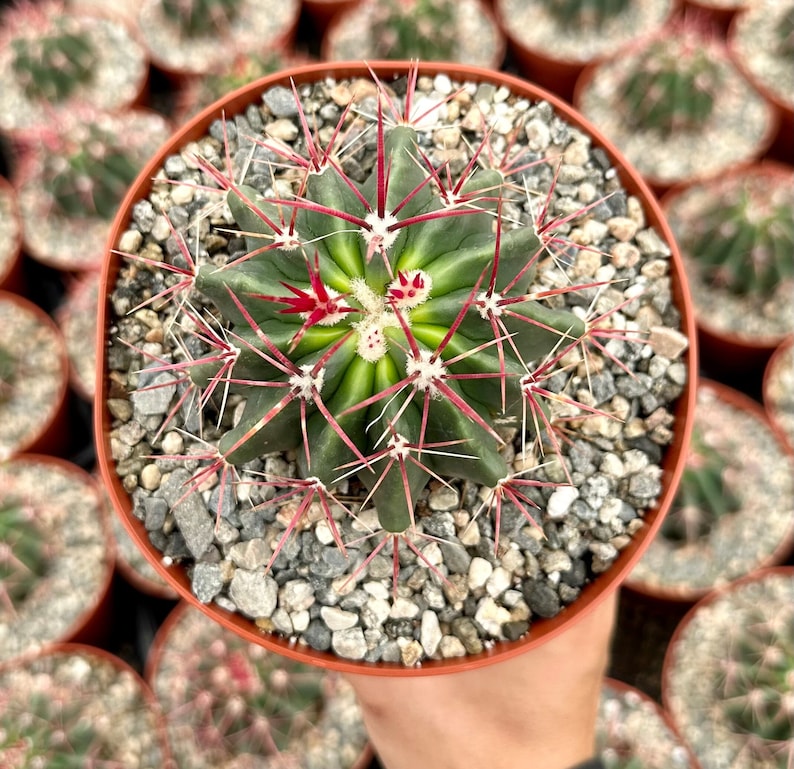
Source: Etsy
What are the best conditions to transplant a cactus?
When transplanting a cactus, timing is crucial for success. The optimal time to transplant a cactus is during the spring or early summer, as this is when the plant is actively growing. Transplanting during this period provides the cactus with the best opportunity to adjust to its new pot and location. By aligning your transplanting efforts with the cactus’s growth cycle, you enhance its chances of thriving in its new environment.
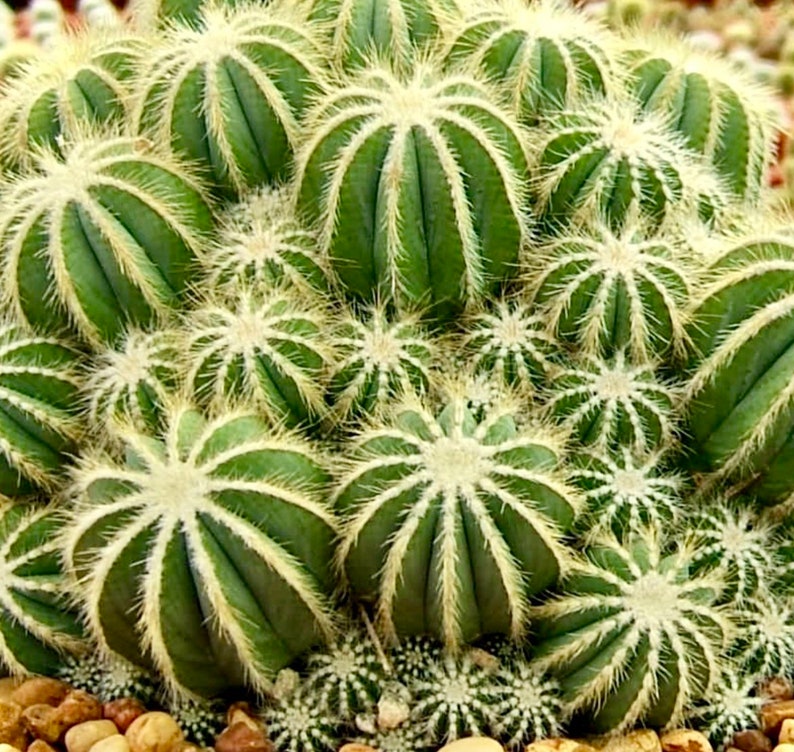
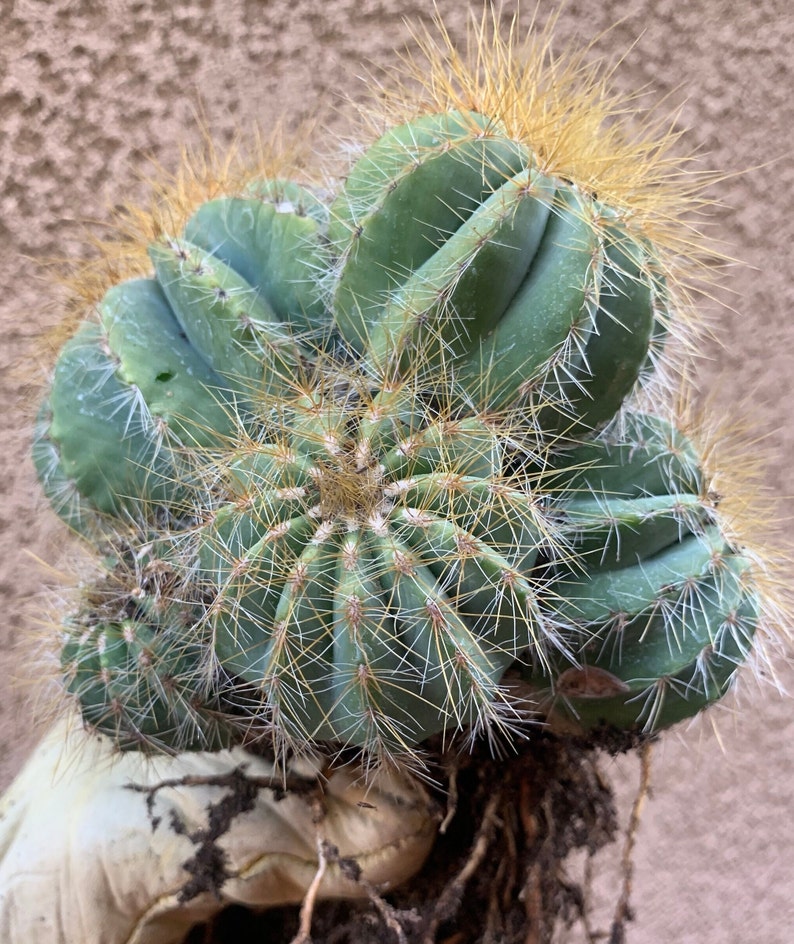
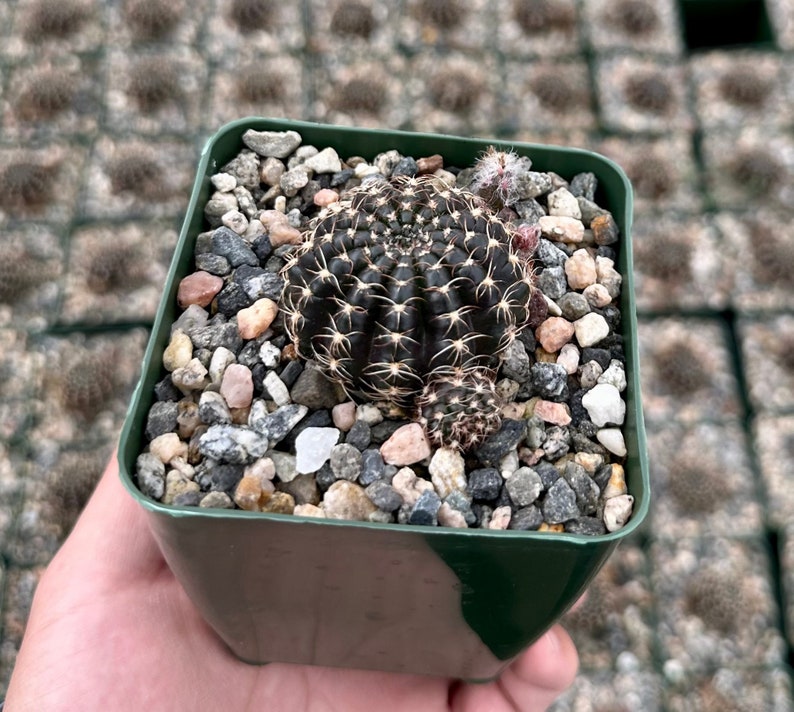
Source: Etsy
Choosing the right pot and soil is essential when you transplant a cactus, as it significantly influences the cactus’s ability to grow and thrive in its new home. The pot must be large enough to accommodate the cactus’s root system; a pot that is too small can lead to the cactus becoming root-bound, resulting in stunted growth and poor health. Conversely, if the pot is too large, the cactus may struggle to find adequate soil to anchor itself, compromising its stability. By carefully selecting the appropriate pot and soil, you can ensure a successful transplant of your cactus, promoting its long-term health and vitality.
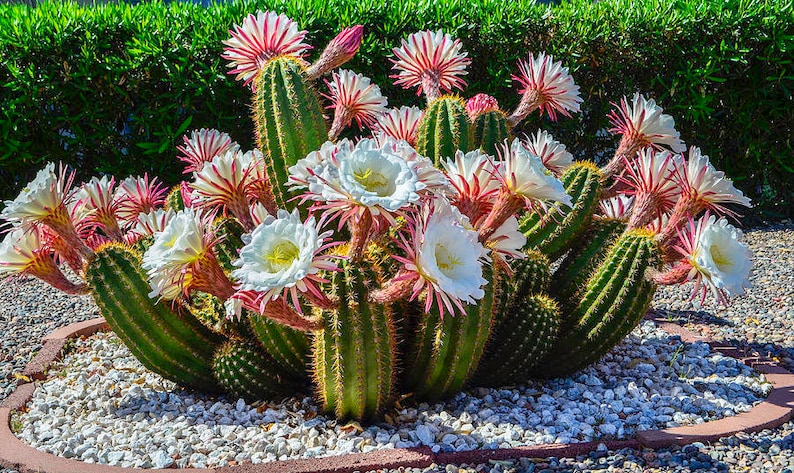
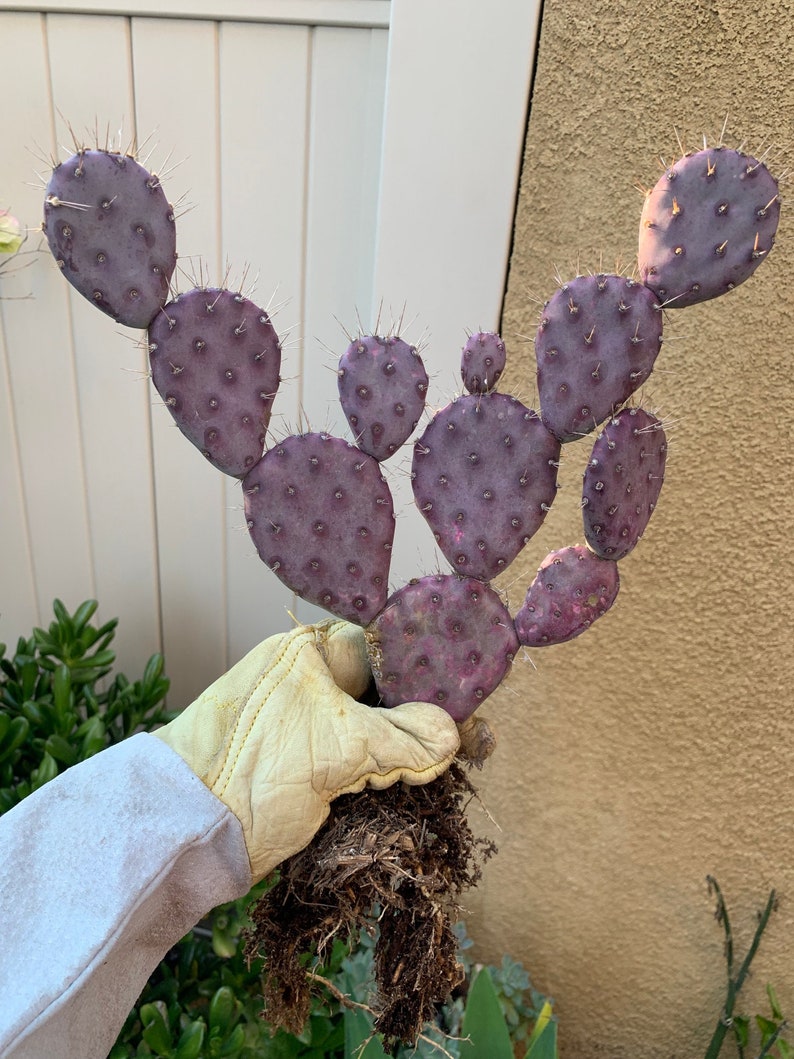
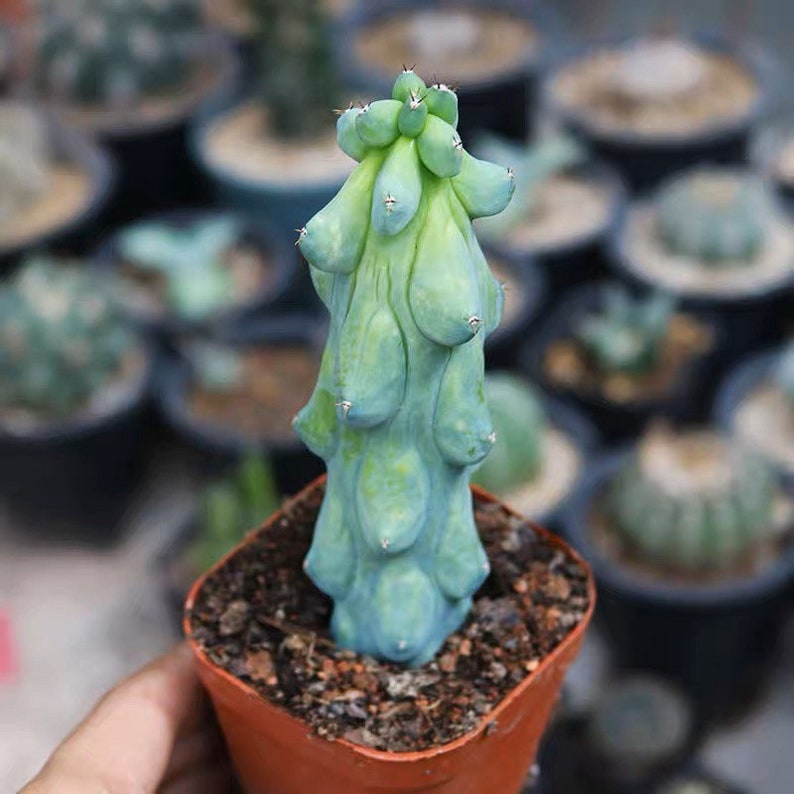
Source: Etsy
The pot should also have drainage holes at the bottom to ensure proper drainage. Cacti are drought-resistant plants, but they still require water to survive. If the pot does not have drainage holes, water can accumulate at the bottom of the pot, leading to waterlogged soil, which can cause the cactus’ roots to rot.
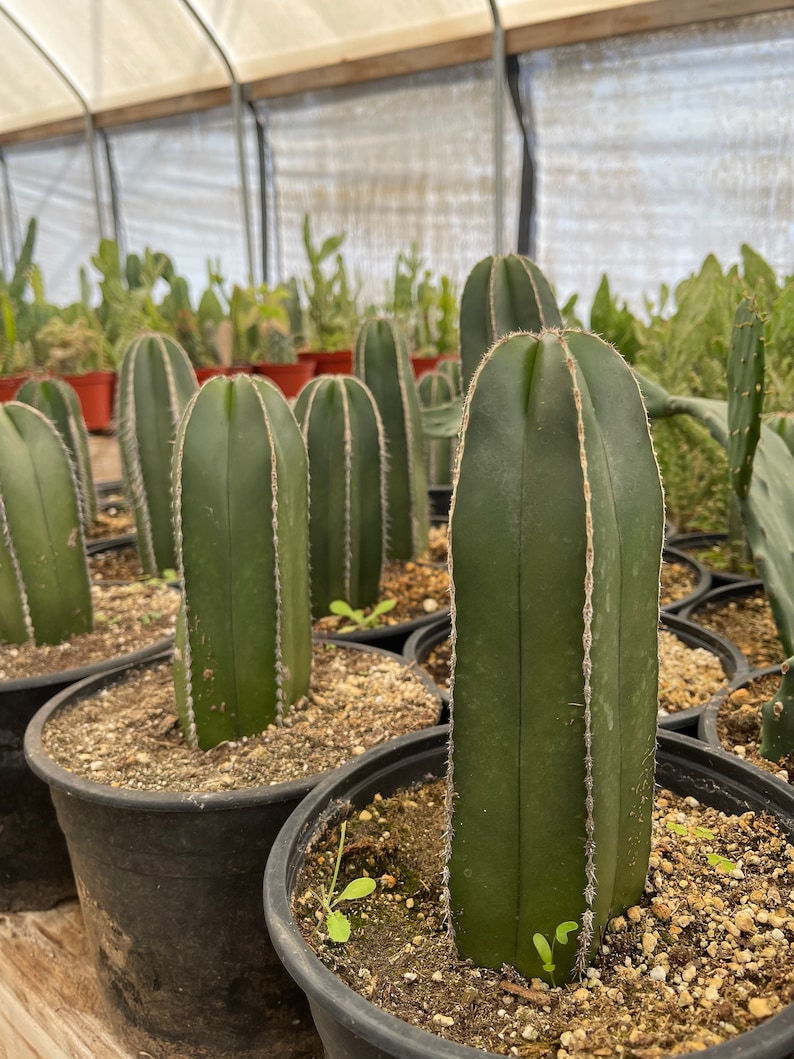
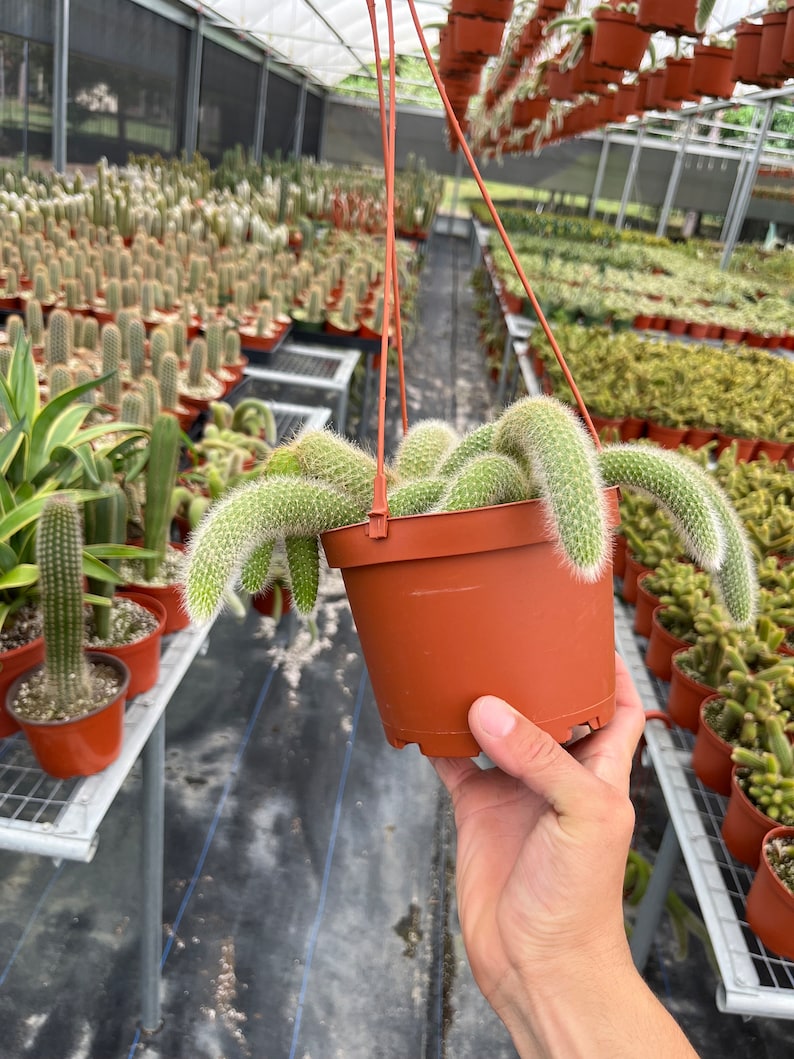
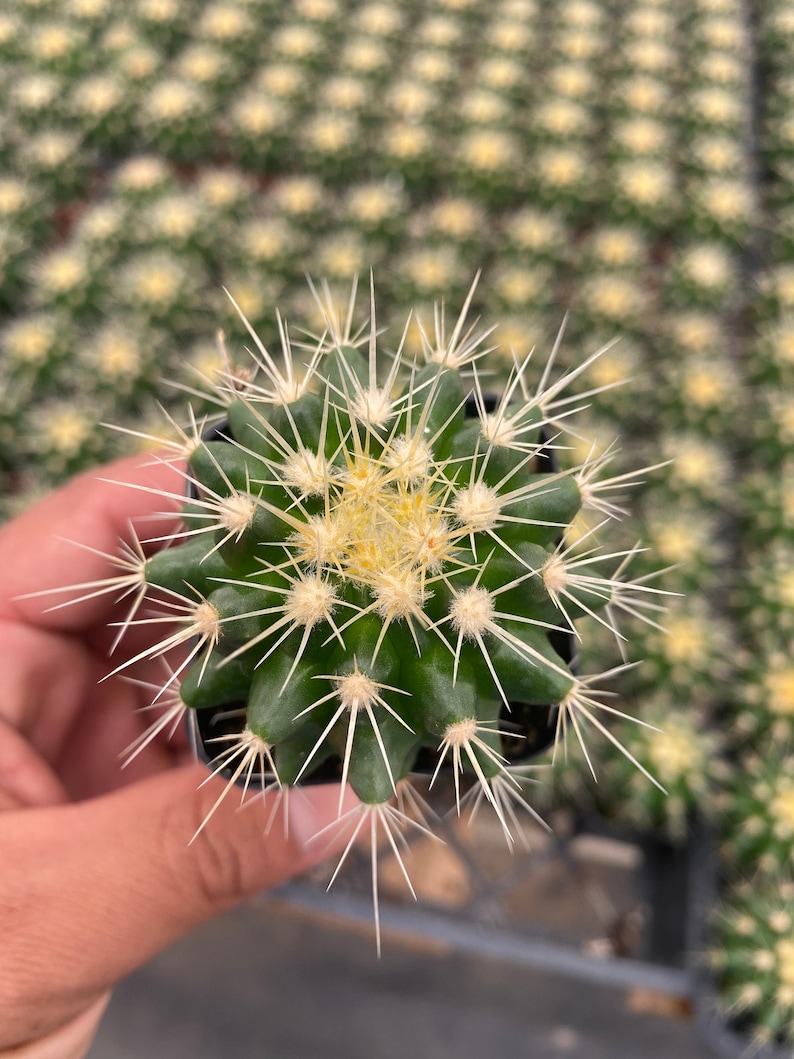
Source: Etsy
For soil, a well-draining cactus mix or a combination of potting soil and sand is ideal. Cacti require well-draining soil to prevent their roots from sitting in water, which can cause rot. A cactus mix or a combination of potting soil and sand will provide the cactus with the necessary drainage to prevent this from happening.
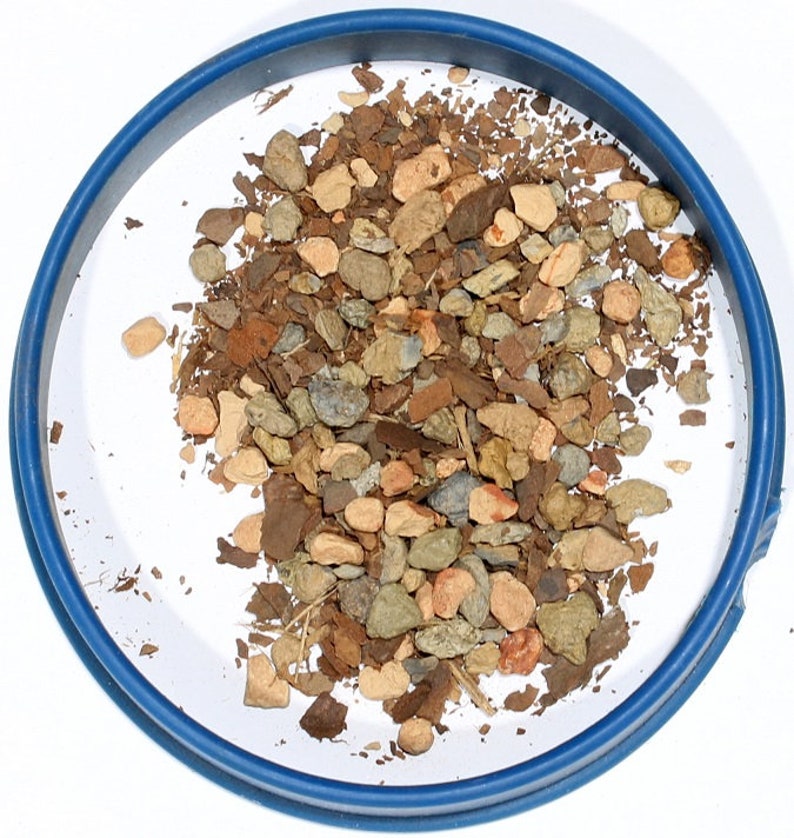
Consider amending your soil with Bonsai Jack’s gritty mix to ensure your succulent soil drains quickly to prevent it from staying moist for too long. Source: Etsy
Using the right pot and soil will ensure that your cactus has the best chance to adjust to its new pot and location, and it will promote new growth, and overall healthy plant. It’s important to keep in mind that the right conditions for a cactus to thrive are different than other plants, so it’s crucial to provide the right pot, soil and drainage for a cactus.
Source: Etsy
Preparing for Transplant
Before transplanting your cactus, it’s essential to prepare the plant for the move. This includes removing any damaged or diseased parts of the cactus, as well as gathering the necessary tools and protective gear to handle the cactus safely.
Source: Etsy
How can I protect myself from the cactus’ spines during transplant?
To protect yourself from a cactus’s sharp spines during transplant, it’s important to take precautions. Here are some effective tips:
- Wear Protective Gear: Donning thick gloves and long sleeves can shield your skin from potential punctures while handling the cactus.
- Use Tools: If you prefer not to wear gloves, consider using sturdy tongs or a thick towel to grip the cactus securely. This allows you to manage the cactus without direct contact.
- Work Slowly and Carefully: Take your time when handling the cactus to avoid sudden movements that could lead to accidents.
By following these steps, you can safely transplant a cactus while minimizing the risk of injury from its spines.
Source: Etsy
Transplanting the Cactus
Once your cactus is prepared and you have the necessary tools and protective gear, it’s time to transplant the cactus. The steps for transplanting a cactus include:
- Removing the cactus from its current pot
- Loosening the roots to promote new growth
- Placing the cactus in the new pot and filling in with soil
- Watering the cactus and providing proper drainage
Source: Etsy
When you transplant a cactus, it’s vital to handle it gently to avoid damaging the roots. Here’s how to do it effectively:
Loosen Compacted Roots: Gently use your fingers or a small tool to loosen any compacted roots. This step is important as it encourages new root growth in the new pot.
Loosen the Pot: Squeeze the sides of the nursery pot to loosen the soil, making it easier for the pot to slide off without causing harm to the cactus.
Remove the Cactus: Once the pot is loosened, carefully lift the cactus out.
Source: Etsy
When transplanting the cactus into the new pot, ensure it is planted at the same depth as it was in its previous pot. After positioning the cactus, fill in around it with soil and gently press down to eliminate any air pockets. Once the cactus is securely in place, water it lightly, taking care to ensure that the pot has drainage holes to prevent water from pooling at the bottom. This will help promote healthy growth and prevent root rot.
Source: Etsy
Aftercare
After transplanting, it’s important to provide proper care for your cactus to ensure its survival. This includes providing proper lighting and temperature conditions, monitoring for signs of stress or disease, gradually acclimating the cactus to full sun, and watering and fertilizing as needed.

Succulent fertilizer available to purchase on Etsy.
In the first few weeks after transplanting, it’s essential to monitor your cactus for signs of stress or disease. This includes checking for wilted or yellowing leaves, as well as any signs of rot or fungal growth.

When you’re rooting or transplanting your succulents and cacti, use SUPERthrive to help reduce the chance of transplant shock and grow a strong root system.
Proper lighting and temperature conditions are also crucial for the cactus’ survival. Cacti prefer bright, indirect sunlight, so gradually acclimate the cactus to full sun over a period of a few weeks. Most cactus species can handle full sun if acclimated properly. If the cactus is placed in direct sunlight too soon, it could cause sunburn and damage to the plant.

Source: Etsy
When it comes to watering, cacti are drought-resistant but still require water to survive. Water the cactus sparingly in the first few weeks after transplanting, and then gradually increase the amount of water as the cactus becomes established in its new pot. It’s important to make sure that the pot has proper drainage to prevent water from pooling at the bottom.
Source: Etsy
Fertilizer is not necessary immediately after transplanting, but it can be beneficial to fertilize your cactus with a cactus-specific fertilizer once it becomes established in its new pot.
Source: Etsy
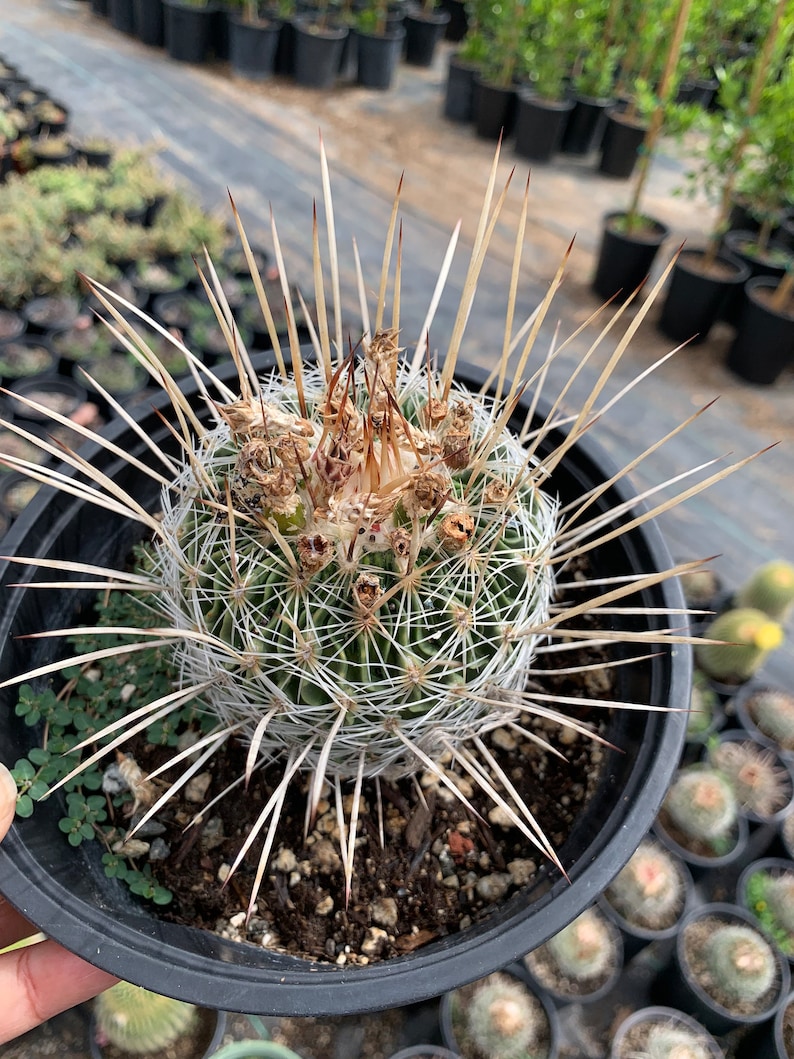
What are the best practices for transplanting cacti with long spines?
When transplanting a cactus with long spines, it’s best to use a pair of needle-nose pliers to grasp and remove the spines before transplanting. This will make the process of transplanting the cactus safer for both you and the plant.
Source: Etsy
It’s also important to keep in mind that not all cacti are suited for transplanting, some cacti species have a taproot, which is a long and deep root that doesn’t transplant well, so it’s best to research the specific species you have before transplanting.

Cactus Planting Life Hacks
For small cacti in a 2″-6″ pot, using leather gloves or a thick towel would probably be enough protection. I’ve used a few layers of newspaper wrapped around the cactus or simply long, sturdy tongs if the cactus is small enough.

Source: Etsy
If you need further protection from longer spines you can use old scraps of carpet to wrap the cactus in or you can use scraps of styrofoam that come in shipping boxes to place on the sides of the cactus when moving it. I’ve also planted large cactus specimens in the ground without anything and just using gravity to plop the cactus in the pre-dug hole.
Source: Etsy
What to do if you get stuck by cactus spines:
If you get stuck by a cactus, it’s important to take immediate action to remove the spines and prevent infection. Here are a few steps you can take to fix your sticky situation:
- Carefully remove the spines: Use tweezers or a needle to gently remove any visible spines from the affected area. Be sure to sterilize the tweezers or needle with rubbing alcohol before use to prevent infection.
- Use tape if the spines are tiny: Place a piece of clear tape over the affected area and press down firmly. Then, gently pull the tape off in the opposite direction of the spine. This can help to remove small or deeply embedded spines.
- Use a needle: Sterilize a needle with rubbing alcohol and use it to gently pierce the skin around the spine. Once the needle is close enough to the spine, use tweezers to remove it.
- Use a magnifying glass: Use a magnifying glass to examine the affected area and locate any remaining spines. Once you’ve identified the spines, use tweezers or a needle to remove them.
- Use a commercial cactus spine removal tool: There are commercial tools available that are specifically designed to remove cactus spines. These tools often have a small brush or a needle-like tip that can help to remove small or difficult-to-reach spines.
- Professional help: If you are unable to remove the spines yourself, or if you are experiencing severe pain or other symptoms, seek professional medical help.
- Clean the wound: Clean the affected area with soap and water. You can also use hydrogen peroxide or rubbing alcohol to disinfect the wound.
- Watch for signs of infection: Keep an eye on the affected area for signs of infection, such as redness, swelling, or pus. If you notice any of these symptoms, seek medical attention.
Source: Etsy
If the cactus spine has broken off, it’s important to remove it as soon as possible to prevent further complications. If the cactus spine has been left in the wound, it can cause inflammation and infection. If you are unable to remove the spine or if you experience severe pain, swelling, redness or other signs of infection, seek medical attention immediately.
Source: Etsy
It’s also important to note that some cactus have barbs that can make the spines hard to remove, so it’s better to seek professional help when dealing with them.

Transplanting a cactus can be a tricky process, but with the right preparation and care, it can be done safely and successfully. It’s important to choose the right time of year, pot, and soil for the transplant, as well as to protect yourself from the cactus’ spines while handling the plant. After transplanting, proper care is crucial for the cactus’ survival, including monitoring for signs of stress or disease, providing proper lighting and temperature conditions, and watering and fertilizing as needed.

Source: Etsy
By following these steps and guidelines, you can safely transplant your cactus and give it a new home where it can thrive. Remember to be patient and take your time during the process, and always prioritize the safety and well-being of both yourself and the cactus.